Guides › Share & use your skin
How to make a Bedrock skin pack with several skins
Put up to 50 skins into one Bedrock .mcpack — from PNG files, your drafts or your saved skins — each with its own name and Steve or Alex arms, in the order you choose.
3 min read · 3 steps · Beginner
Step 1: Open Skin pack
Open Upload / Export (Export skin in the editor's top bar). In the 2 · Export title bar press More, then Skin pack. A window opens for one Bedrock .mcpack that can hold up to 50 skins.
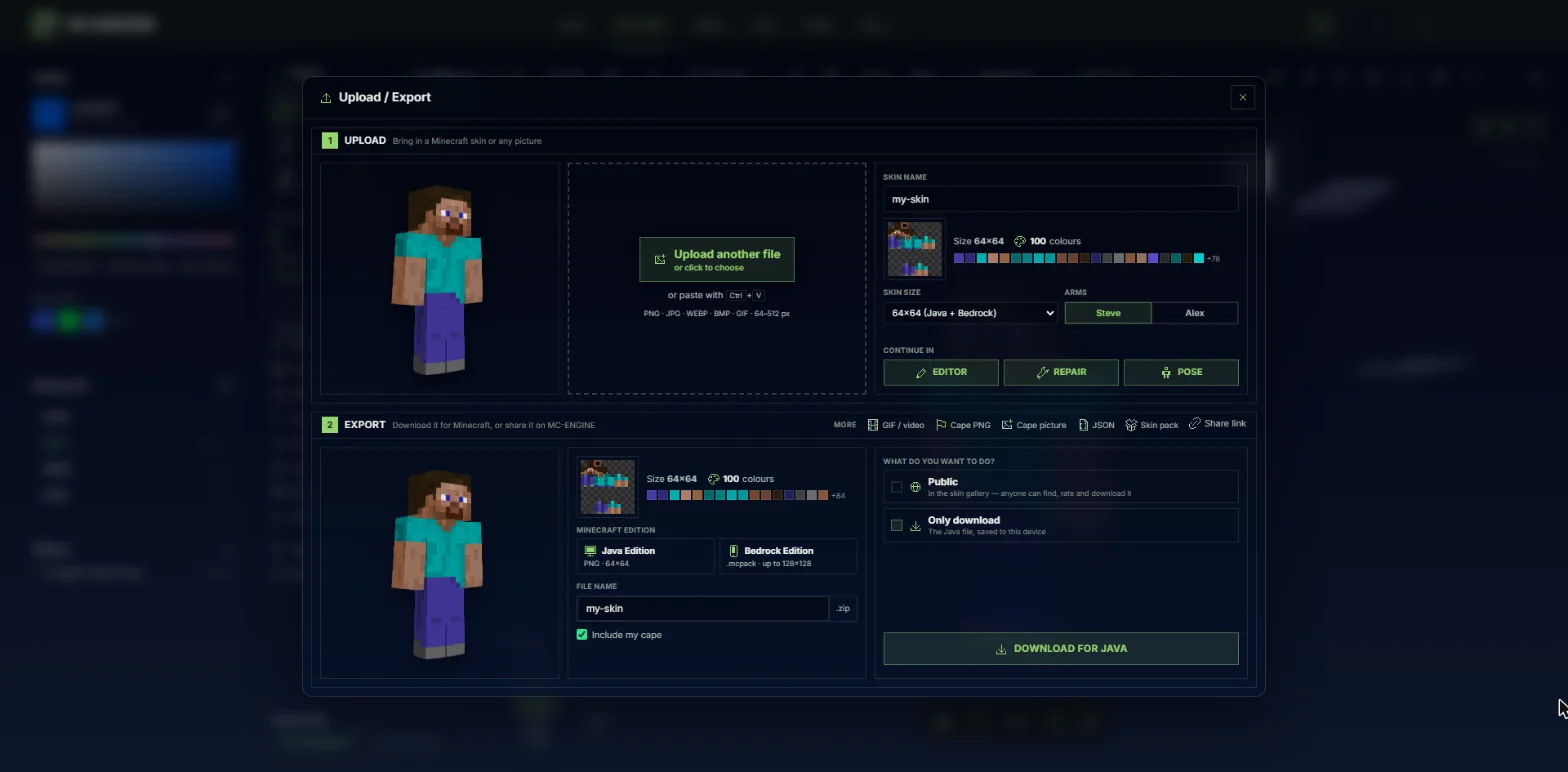
- More → Skin pack.
Step 2: Add the skins
Use the buttons under the list: Current skin (the one open in the editor), PNG files from your computer or phone, Drafts (saved in your browser) or My skins (saved to your account; log in first).
Give each skin a name (it shows in Minecraft's list) and pick Steve or Alex arms — MC-ENGINE guesses the arms from the picture, so just check them. Use the up / down arrows to change the order; Minecraft lists the skins in the same order.
Step 3: Name the pack and download
Type the pack name (up to 60 letters) and press Download pack. HD skins are saved at 128×128 inside the pack.
Open the .mcpack the same way as a single skin (Windows: double-click; Android: open with Minecraft; iPhone/iPad: Files → Share → Minecraft). In Minecraft, all the skins show under Dressing Room → Classic skins → your pack.
Tip: Making skins for friends? One pack with everyone's skins is easier to share than many single files.
More guides
- How to put a custom skin in Minecraft Java & Bedrock
- Wear HD skins and moving capes in Minecraft (MC-ENGINE Skins mod)
- Moving GIF cape in Minecraft: from the website to your game
- How to turn a skin PNG into a .mcpack for Bedrock
- How to make a Minecraft skin GIF or video (4 ways)
- Share skins with the community
- Publish skins and manage My skins
- Your profile: photo, links, badges and security
- Events: skin contests — enter, vote and win
- Favourites, collections, notifications, reports and the weekly leaderboard
- Minecraft capes and elytra: browse, download, wear and upload
Updated 2026-11-09 · by the MC-ENGINE team
Not an official Minecraft product. Not approved by or associated with Mojang or Microsoft.